-
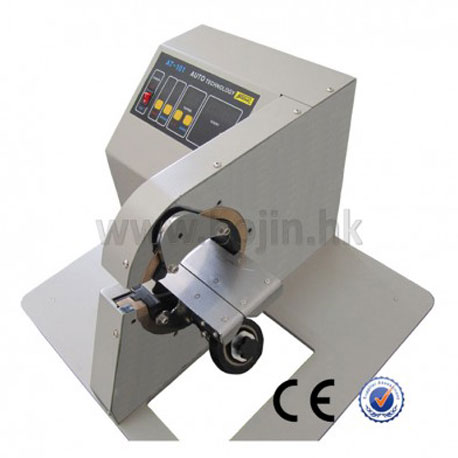 1. Tape width: 2-40mm
2. Taping length: 0-600mm per second
3. Wire diameter: 0.1-40mm
4. Weight: 26kg
-
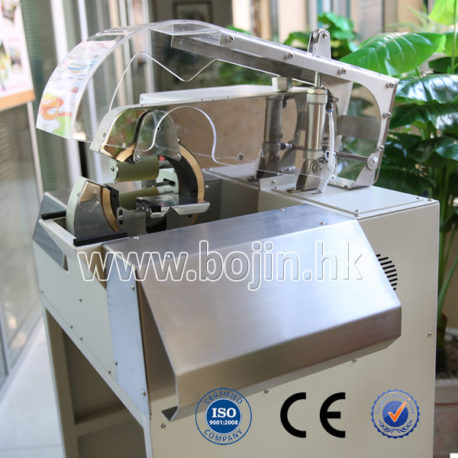 1. Tape width: 2-40mm
2. Taping length: 0-600mm/second
3. Wire diameter: 0.1-40mm
4. Dimensions & Weight: 700(L) x 600(W) x 1100(H) mm 85Kg
-
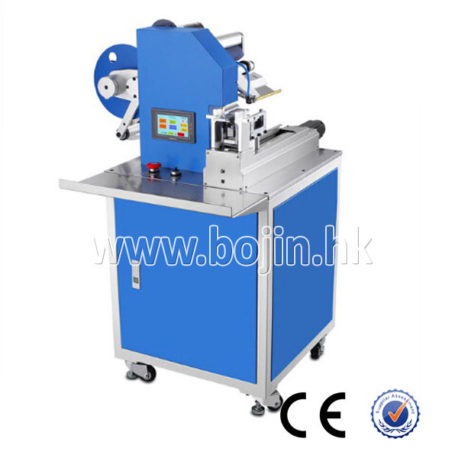 * Max Label Coil OD :dia240mm
* Max Label Coil ID:dia76mm
* Label Precision:+/-0.20mm
* Labeling Speed:900-1200 pcs/hour
* Label feed speed:1.2 second/Label
-
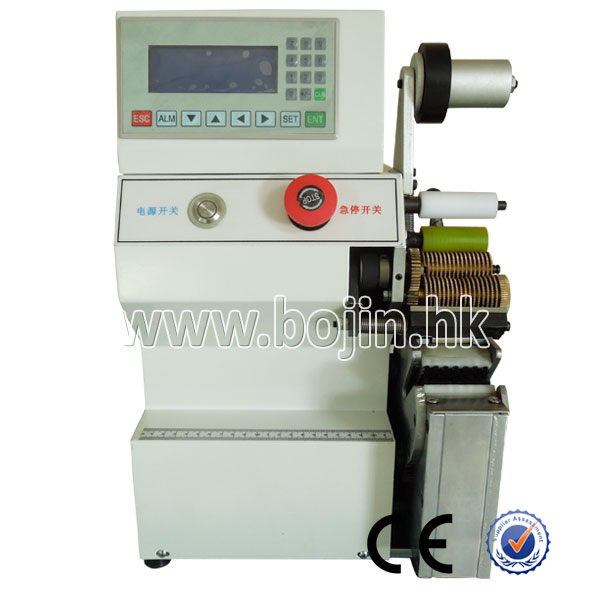 * Tape width:2-40mm
* Winding length:0-600mm/s
* Wire diameter:0.1-40mm
* Net weight:50KG
* Voltage:220V
-
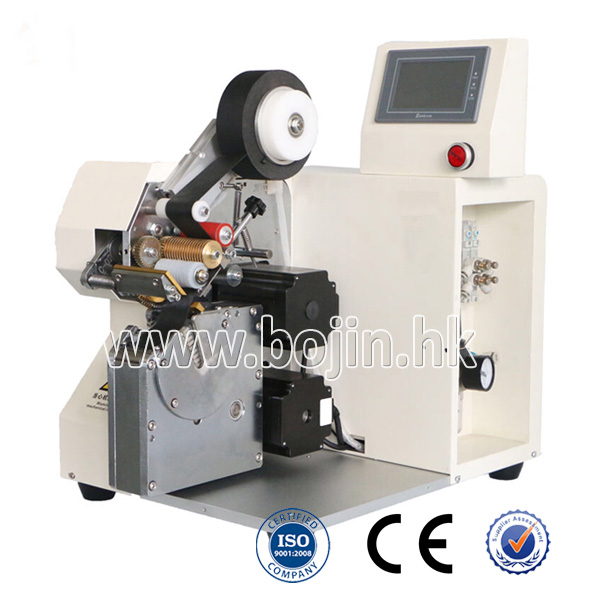 * Tape width: standard width 19-40mm
* And customized for 10-80mm 19-50mm
* Adjustable feeding length: 40-60mm
* Winding length:0-600mm/s
* Outside tape diameter: within 210mm
-
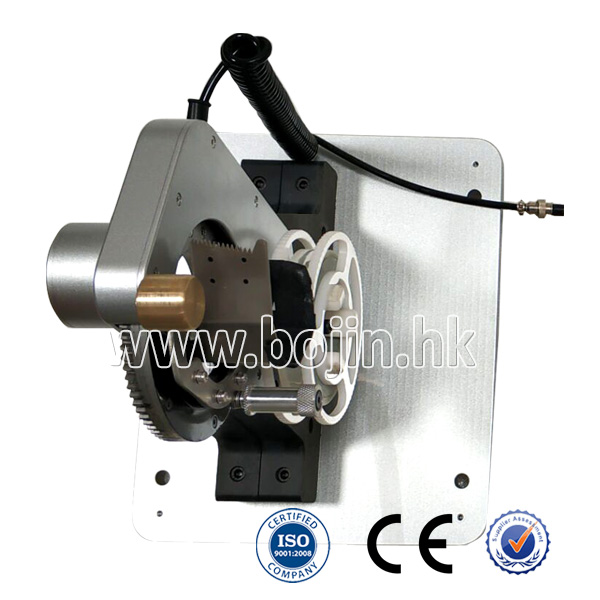 * Power supply:100-240V 50-60HZ
* Wire diameter:SCS35A(8-35mm);SCS55(20-55mm)
* Winding speed:200-400 r.p.m/minute
* diameter: customized.
* Weight: 8KG
-
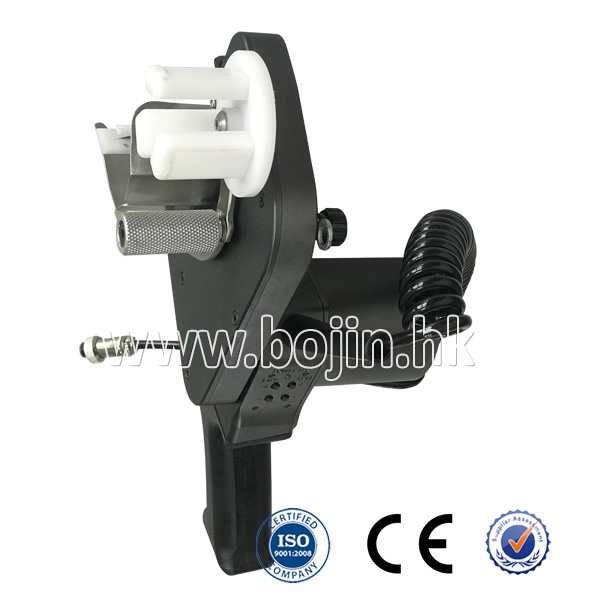 * Power supply:100-240V 50-60HZ
* Wire diameter:8-35MM
* Winding speed:180-400 Turn/Min
* Tape size:Width 10-25MM;OD≤110M ;ID: Custimzied
* Weight:3KG
Product features of automatic harness taping machine.
1. The equipment is durable and compatible with different types of adhesive tape (such as duct tape, PVC tape, etc.).
2. Keep flat and wrinkle-free, and ensure that each coil of duct tape is covered with 1/5-1/2 of the previous lap.
3. Guarantee semi-automatic winding mode.
4. The winding mode can be switched in different forms: the spool of the same position (quantitative), and the spiral of different positions (with the movement).
5. Realize the setting of winding circles and speed, and output display function.
6. The blade can be replaced quickly.
Using environment
Ambient environment: -10- +50ºC, relative humidity: 5-95% (no dew)
Environment: free from direct sunlight, no dust, corrosive gas, flammable gas, oil mist, steam, dripping, etc.
Altitude: It is less than 1000 m.
Installation steps
1. Insert the power cord plug into the control box.
2. Connect the aviation plug to the control box socket.
3. Plug the power cord into the 220V power socket ( which is provided by Party A).
Adjustment and trial operation
After the equipment is installed, adjust the parts and then try to test run. Check to see if the parts are damaged or deformed before the test. If there is no apparent damage, click the drive mechanism button, and the tape will be running slowly. For more than one week, hold down the drive mechanism button for more than one second. The tape winding head is started slowly, and then it is running at a high speed. Release the button, the tape winding tip is changed to slow running, and the quick click on the transmission mechanism button stops when the position is estimated to the station.


