-
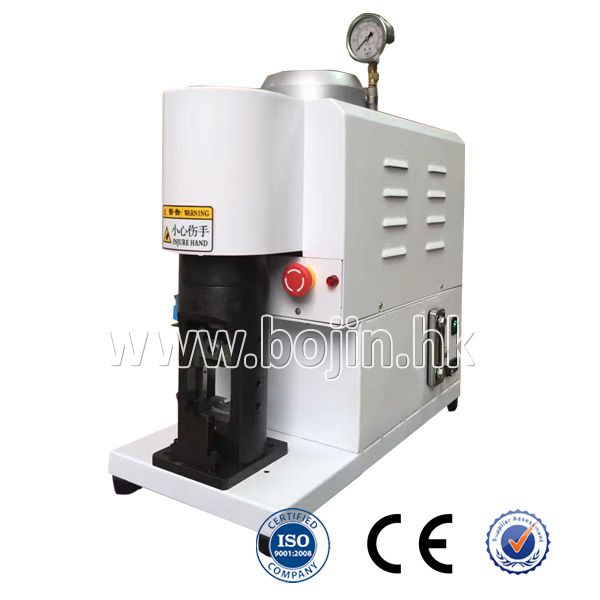 * Force:20Ton
* Applicable Scope:1-200mm² wire
* Stroke:50mm Adjustable
* Power:220V/110V
* Size:60*28*60cm
-
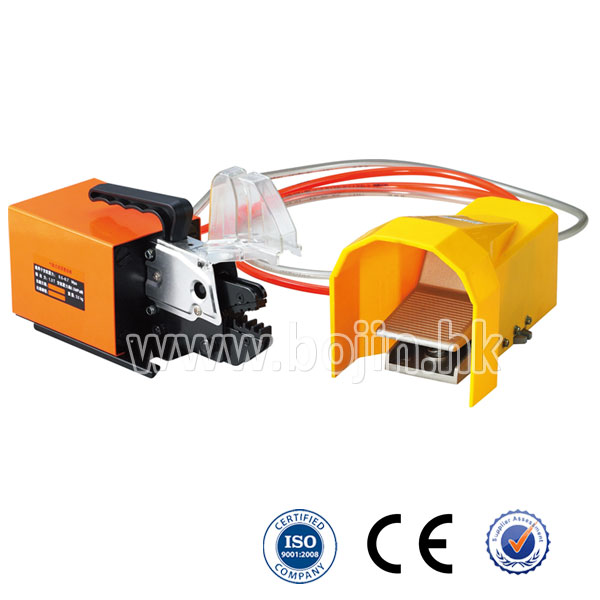
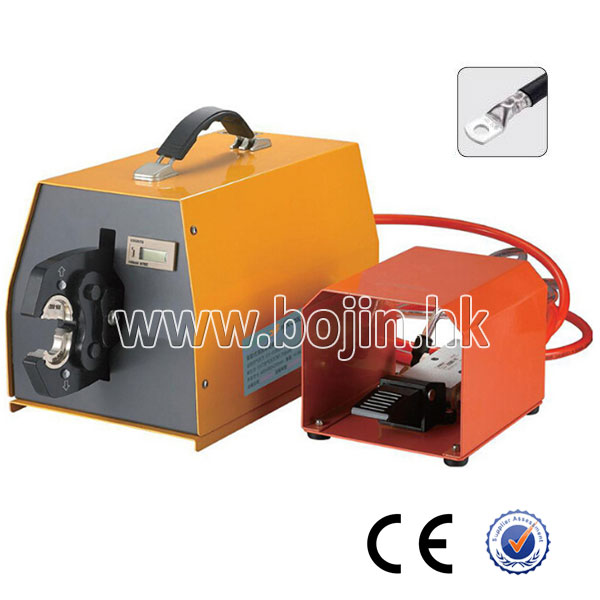 * Crimping range: 10-300mm2
* Air pressure range: 0.5-0.8MPa
* Output: 9.0T
* Overall dimension: 400*200*210mm
* Weight: 10.5kg
-
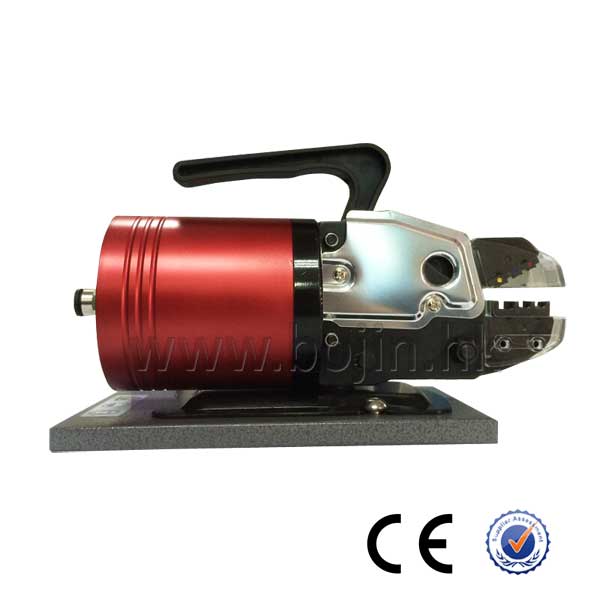 * Crimping range: non-insulated terminals≤10mm²
* Pre-insulated terminals: ≤6mm²
* Tube-shaped terminal: ≤25mm²
* Output: 13.5kg
* Pressure range: 0.4-1MPa
-
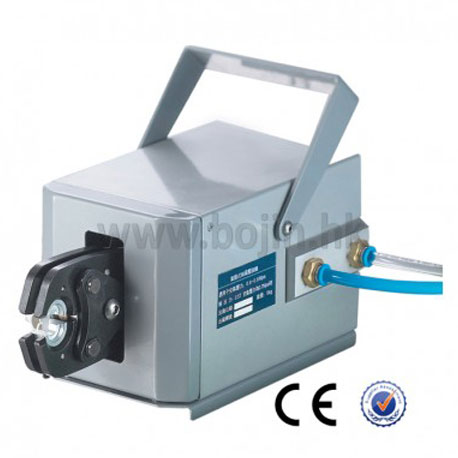
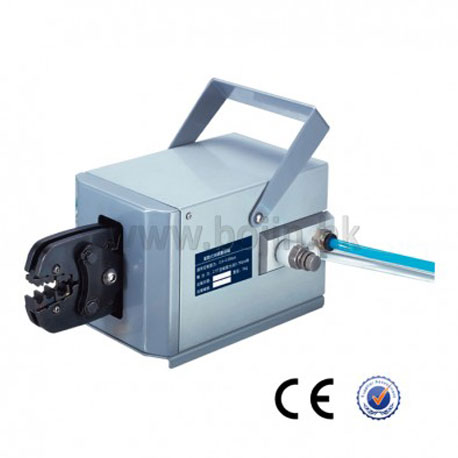 * Crimping range: 0.5-16mm²
* Air pressure range: 0.5-0.8Mpa
* Output:1.8T
* Voltage range: AC 220V
* Weight: 6kg
* Overall dimension: 275*128*145mm
-
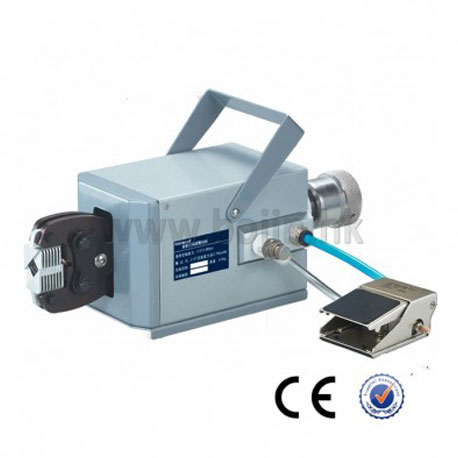
 * Range of Application: 6mm(insulated terminal)//35mm2(Furcate terminal)
* Air pressure range: 0.4-1Mpa
* Output force:13.5KN
* Voltage range: AC 220V
* Weight: 6.5kg
* Overall dimension: 260*120*140mm
-
 * Crimping range: Non-insulated terminal 0.5-50mm² ≤
* Air pressure range: 0.6-1Mpa
* Output:2.5T
* Voltage range: AC 220V
* Weight: 6kg
* Overall dimension: 286*125*165mm
-
 * Crimping range: Tube terminal 0.08-120mm²
* Air pressure range: 0.5-0.8Mpa
* Output: 2.5T
* Voltage range: AC 220V
* Weight: 6.5kg
* Overall dimension: 360*125*165mm
-
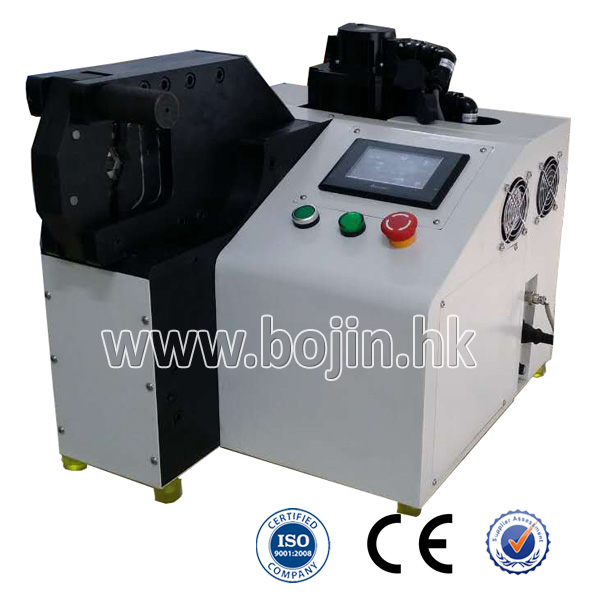 * Outer dimensions:500*450*450MM
* Power supply & Voltage:220v50Hz 2300W
* Weight:100KG
* Memory:15 groups
* Crimping range:10-240mm²
-
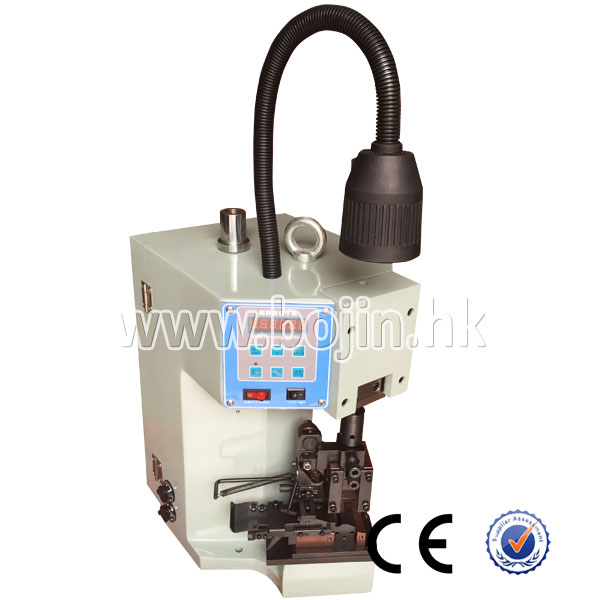 * Operation way: Footswitch
* Crimping Die: General OTP Die
* Max. Crimping Force: 2000KG
* Stroke Distance: 30mm
-
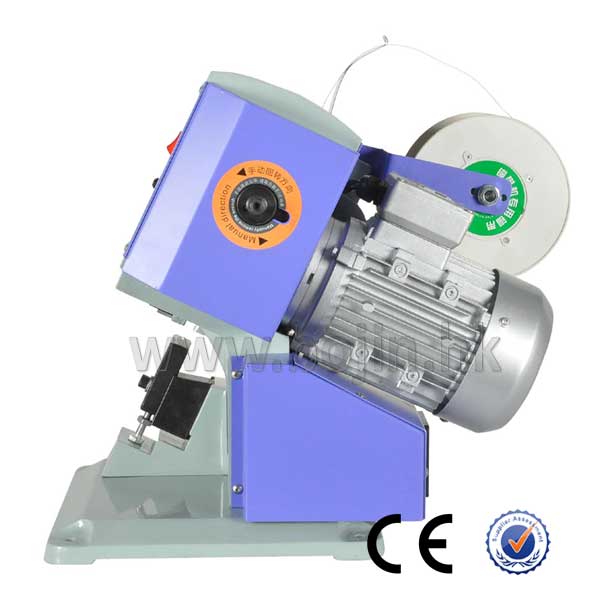 * Motor: asynchronous motor AC220v 550w
* Crimping capacity: 1.5t
* Applicable copperbelt: 1-6mm
* Operation: single-action pedal
* Volume: 430x430x430
-
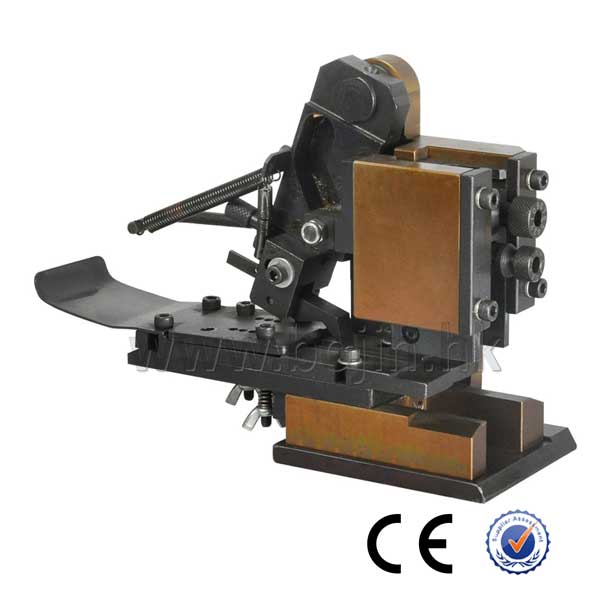 * Operation capacity: continuous terminals
* Weight: 4.5kg
* Stroke: 30mm
-
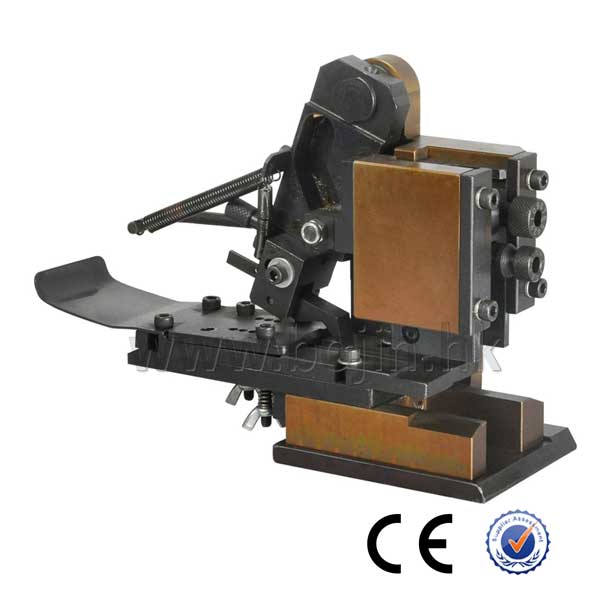 * Operational capacity: continuous terminals(only for cross-transmission)
* Weight: 4.5kg
* Stroke: 30mm
1. Operation Guide of Continuous Terminal Crimping Machine
① Check whether or not the voltage is correct, the pedal socket and the power socket can operate, the card model and the installation of the knife module is correct, the power supply is safe and reliable and the control switch is sensitive.
② Turn the power switch the “off” position, use the mode rod to unlock the clutch, use a wrench to rotate the spindle clockwise so that the punch will move from the up dead point to the down dead point, then back to the up dead point, and lock the clutch, that is, a manual cycle.
③ Adjust the height you press, manually test the terminals continuously until the terminals meet the process requirements.
④ Remove the wrench and the adjusting die bar. The power switch points to the “NO” position. At this time, the power indicator light is shining, the motor and the flywheel are running.
⑤ The processing wires should be placed in the proper position of the terminal.
⑥ Step the pedal once to unlock the clutch as the electromagnetic iron absorption, making the knife module moves from the up dead point down to the down dead point, combining the wire with the inner paragraph, then back to the up dead point, and send the next terminal to the fixed position.
⑦ Repeat the steps 5 and 6 can continue to move another terminal.
⑧ Cut off the power supply when the work is down, clean the workbench, check the machine's integrity, keep the body clean, and adjust or replace if there is anything unusual.
2. Attentions
① When the power is turned on, the spanner and the adjusting rod must be removed.
② The punch must be in the up dead point before the start.
③ Avoid pressing more than two terminals with overlap.
④ When there is anything unusual, the power shall be cut off immediately, clearing away or adjusting and regulating electrified foreign objects is prohibited.
3. Maintenance
① Clean the body and the mold every day after an operation.
② Add engine oil to the machine platform and oil hole of the die holder to lubricate them every day.


